About
This article was written by Manhattan College's Assistant Director of Digital Media, Laura Meoli Ferrigon. She is an Emmy winning Director, Author, Host, and Educator. Check out her website!
8 Essential Tips For Recording Professional Videos From Home
Whether you are recording a lecture, a selfie video for social media or just want to look fabulous in your video meetings, this essential guide explains how to use your webcam or cell phone camera to capture high quality videos that make you look like a pro!
In today’s telecommuting reality, video production has become a responsibility of us all. Not to worry- you don’t have to be a professional cinematographer to make great videos! Most cell phones, laptops and webcams are high quality enough to do a decent job. But that isn’t all that goes into delivering high-quality videos. Here are some tips on how to up your production value from home, written by our resident video expert Laura Meoli-Ferrigon.
1. Hello, is anybody there?
Lighting is an essential component of your production. Even the most expensive camera will produce poor video quality if you are not thinking about lighting as your number 1 priority. You don’t need professional lighting or even a lamp to get good lighting. It’s all about where you choose to sit and where your light source is coming from. Your face is the single most important focal point in the video, and you should make sure your face is lit well.
First things first, the closer a light source is to your face, the brighter your light will appear. Go for diffused light (such as a lamp with a shade, a Chinese lantern or a window with a curtain) to avoid casting harsh shadows. Or use your white wall/ceiling as a reflector to bounce diffused, soft light onto your face. As you can see from the example below, which uses a camera flash for still images, the direction of your light source makes a big difference. The same principle applies to video. Want to look 10 years younger? Go for a diffused, bounced lighting situation (similar to the center image example).

Image courtesy of Image-Resource.com
If you have a window in your room, sitting with your face to the window on a sunny day will produce great results. However, this might not be the ideal location choice in regards to what is showing up behind you. Your choice of background should be carefully compromised alongside the need for good lighting.
If window lighting from the front is not ideal, having your window at a 45 degree angle to your face (just slightly to the left or right) is your second-best bet.
If that doesn’t work, or if you don’t have a window, we’ll have to get creative about your light source! Do you have a lamp that you can place next to (and slightly behind) your camera? Floor lamps are an excellent choice because the height mimics the sun’s natural casting of shadows. Or if you are sitting down, a table lamp would also work. Just try to avoid lighting from below or else you’ll look like you are telling a scary story at summer camp!
If you don’t have a lamp you can use, another great light source is your computer monitor. You might be reading something off the screen anyway, so this is a convenient choice in many situations. The rule of thumb here is to have something white taking up the full screen, perhaps you have a Google Doc or Word document open. This is a great solution as opposed to using your desktop background because it is a consistent white light.
A bad choice for a background is to sit with your back to your window. Most cameras are set on auto exposure, meaning that they adjust to balance out the brightest and darkest areas of your image. With bright windows behind you, you are going to look like a silhouetted figure. In this situation the window light will overpower any lamp or other lighting source you have for your face. Similarly, if you have a white wall behind you, the camera will likely make you appear darker. For most cell phone cameras, in selfie mode, you can tap on the screen where your face appears, and it might adjust the lighting accordingly, but with auto settings constantly trying to adjust, it will likely not last long.
2. Can anybody hear me?
Most cell phone and computer cameras have a built-in microphone. Unless you are recording a podcast or TV show, the built-in microphone should work well. Just try to keep the camera
within 2-4 feet from your face for best sound quality
.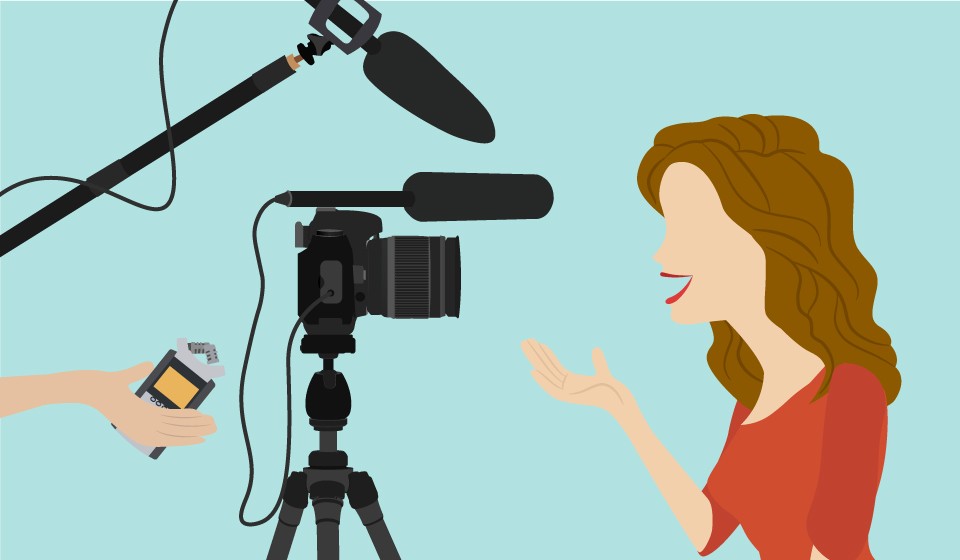
Image courtesy of bhphotovideo.com
Pro-tip: Microphones (unless set to manual with a pro mixer) will adjust to amplify the loudest sound in the room. That is why quiet moments in a conference call can sometimes sound like a wind storm. What you can do for great sound is to minimize any other noises besides your voice. Close your door and turn off air conditioners or loud nearby machinery while recording.
Also, think about what you are wearing. Audibly loud jewelry and clothing can distract from your voice. It is a good idea to do a test-run of your audio prior to recording the real thing.
3. Hang on, we’re going for a ride.

Have you ever watched a video that made you feel nauseous because the camera doesn’t stay steady? Don’t nauseate your audience. Use a tripod or prop-up your camera somewhere to keep it steady. Ideally, the camera would be eye-level because again, your face is the most important thing on screen. If you are using a laptop or computer’s built-in camera, you can use books or a steady box to prop up your screen to eye-level.
Pro-tip: If you want to use a tripod with your cell phone, you will need to buy a tripod cell phone adapter to mount it. Or you can purchase a tripod specifically made for your cell phone, like this one.
4. Orient yourself in these unstable times
Before you record anything, start by thinking about where you will ultimately share this video. Will it go on YouTube, Facebook, Instagram or somewhere else? If you are recording a video with your cell phone or computer, you should opt for horizontal orientation. Otherwise, you will get black bars on the side of your video, making it look amateur.
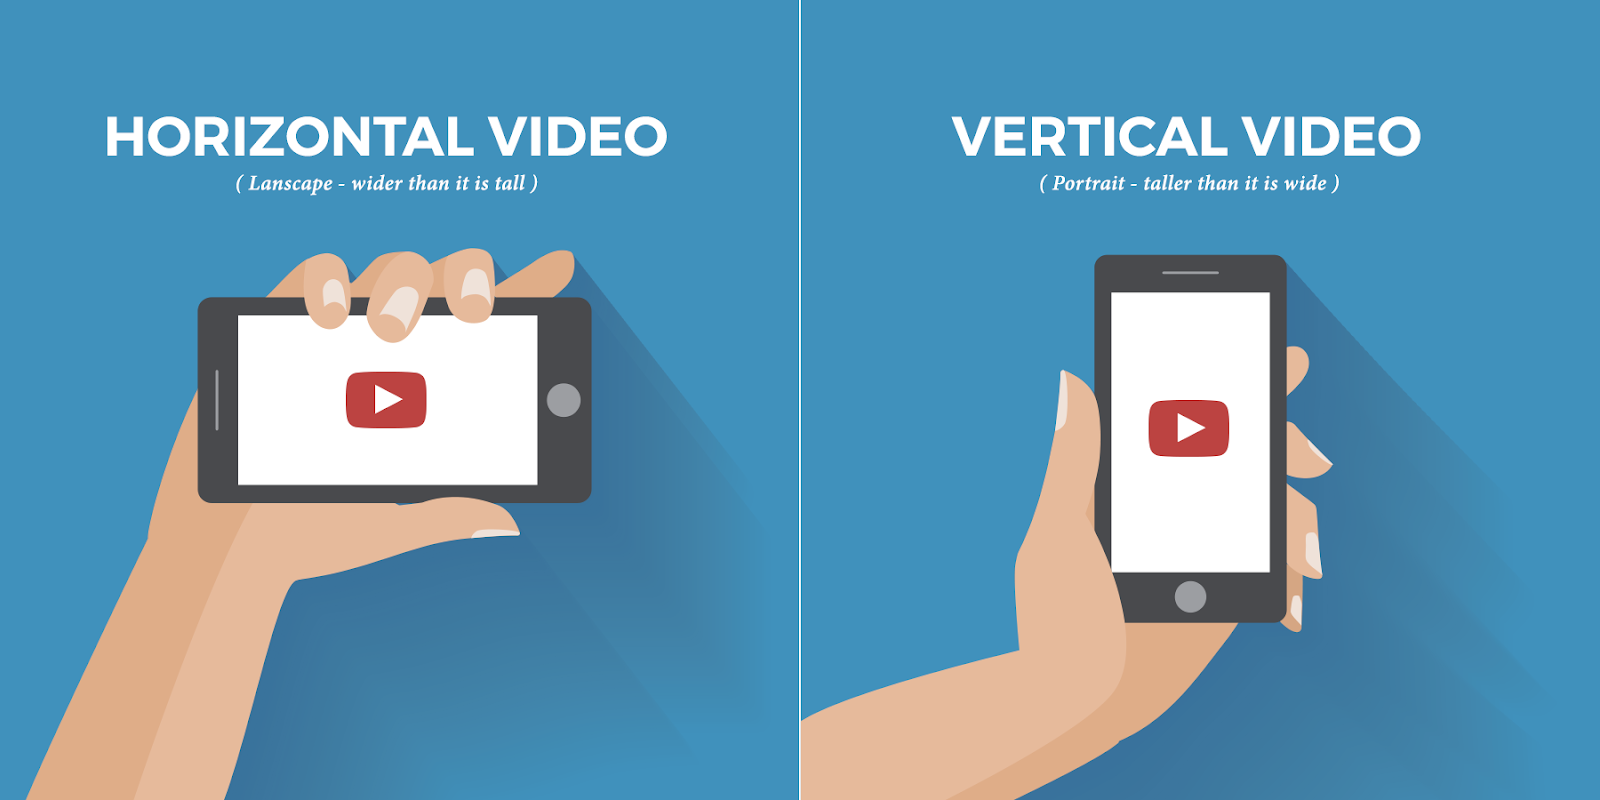
Image courtesy of Medium.com
The only time you should use vertical video is when doing an instagram story or instagram live video. Every other platform (YouTube, Facebook, etc) will look best using a horizontal orientation.
5. SD, HD, FHD, 4K… what does it all mean?
Each camera will have its own specific settings and menu items. If you are using a cell phone, open your camera app and look for the gear icon. For webcams built into a computer, you might have to refer to your user manual.
In general, you should look for video settings on your device and set it to the highest quality possible. The higher the video quality, the larger the files will be. So make sure you have lots of storage space available on your phone before recording video.
Pro-tip: Today’s most common high quality video quality is HD (1920x1080 pixels), sometimes referred to as 1080p. This is the best choice for most instances. 720p (720x480 pixels) is a standard definition quality which is a smaller picture size, but still pretty decent. 4K (3840 x 2160 pixels) is likely the highest video quality most cameras will have, giving you a much larger and clearer image.
Aspect ratio is a number that depicts the width and height dimensions of the video frame in the smallest fraction possible. 16:9 (called 16 by 9) is the most common video aspect ratio today. 3:4 is sometimes used for photos but if you select this for video, you will get black bars on the side of your screen.
Since many cameras categorize these settings differently in the menu, it is best to refer to your camera’s user manual. When in doubt, go with HD 1920p 16:9. 
6. Composition is key.
Do your best to capture your head and shoulders in the frame, without too much space above your head, and without cutting off your head at the top. If you are following my tip for good audio, the camera should be close enough to you to maintain this type of framing. To keep it consistent, avoid using a chair with wheels or tilting action. A sturdy, steady chair is best to avoid the inevitable fidgeting that will happen once you hit record.
Pro-tip: Think about how people are framed on TV and in movies. The image below is a good guide for keeping the focal point (again, your face) as the main focal point. Placing yourself just off center keeps people engaged and leaves you some room to not go out of frame to the left or right when you’re talking. If you want to avoid having a play button right on your nose when sharing your final video, avoid being too set in the center of the screen.

Photo courtesy of shumwayvideo.com
7. Sorry, I wasn’t paying attention because I’m looking at what’s going on behind you.
Whether you have kids barging in, pets getting into everything or just a pretty book shelf behind you, don’t let these things distract from the most important thing in your video… (again) your face.

GIF courtesy of BBC
If you can, try to keep your background simple, with any uncontrollable factors behind the camera.
Pro-tip: Most cameras today try to achieve deep depth of field, which is an effect in which the background of your image is blurred. This encourages the viewer to focus on your face leaving everything else out of focus. While this effect is sometimes very slight and unnoticeable to the untrained eye, not having your face as the main point of focus will subconsciously cause the viewer to have a wandering eye. This will likely influence them to stop watching. Like the audio settings on your microphone, the auto focus setting on your camera lens adjusts constantly looking for the most prominent part of the image, unless you set it to manual focus. Most cameras are great at finding your face and keeping that in focus, but sometimes it will try to focus on the bookshelf, artwork or whatever is behind you.
If you are using selfie mode on a phone camera (where the screen is facing you, so you can see yourself as you record), you should be able to touch the screen to set the focus on your face. Other cameras will have specific settings for this so you should refer to your user manual on how to adjust your auto focus settings.
8. Smile!
You’re now ready to record high quality video from home. Try to prepare as best as you can, and don’t sweat it if you stumble, stutter or mess up. It doesn’t have to be perfect. Keep a positive attitude and you’ll do great!

For more helpful tips please visit www.LoudaVision.com