About
This article explains how to send out large scale communications using Banner Communication Manager.
Environment
Banner Communication Management. If you do not have access to Banner and you may request access here.
Steps
Creating the Message Template
-
Navigate to banner.manhattan.edu and select ”Communication Manager”

-
On the next screen, select “Templates, Datafields, and Parameters”

-
In this tab, you can create the message you are sending. Click on the “+Add” icon on the right side of the screen.

-
Name your template. It is helpful to write this name down so you can locate it later when attaching it to the population you are sending it to.
-
Folder: Select the most appropriate folder related to your message. Typically this is the office or dept the message is coming from.
-
Communication Mode: Do not touch this
-
Communication Method: Select
-
Valid From/To: Typically you do not need to have a “valid to” date.
-
Would you like to share this template?: Select “Yes”
-
Click “save”

5. Once you have clicked save you will be brought to a new screen. Click on the email content tab at the top of the screen.

6. In the email content tab, you can create the message you are sending. To begin creating the message click on the “Edit” icon on the top right part of the screen.

7. Once you are in edit mode you can type your message directly into the large textbox or copy and paste if already created elsewhere. If copying and pasting from another source just review to make sure all formatting is correct and anything hyperlinked is still linked.
Hint: (To enter a $ into a message, you must enter a \ first so it would look like: "\$". This is because BCM uses $ in their insert data field code. You will be unable to publish an email template containing a $.)
8. Once you are done creating your message you will need to add the subject and fill in the “To” field.

-
Select “CM_General”
-
Next, select “MC_EMAIL_UNI” and then Insert
-
When it is inserted, your “To” filed should look like this

9. Select “Publish” at the top of the screen after click Save.

Adding the Population
-
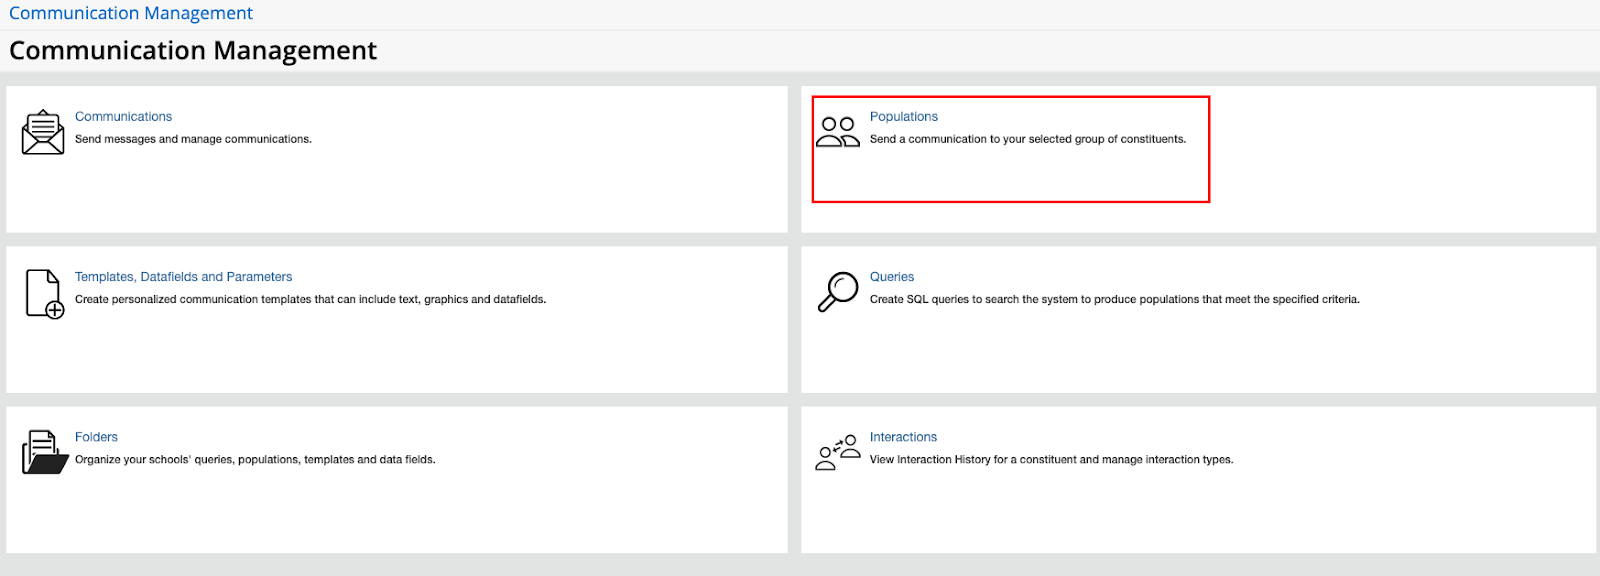
At the top of the screen select “Communication Management”

-
Select “Populations”
-
Select “+Add” at the top right-hand corner of the screen.
-
Name your population the same thing that you named your template.
-
Select the appropriate folder
-
Share the population
-
A message will pop up asking you to re-confirm you are sharing the population. Select “Yes”.

-
Click save
-
It is recommended that you click the “Add From File” icon and upload your CWIDs via a spreadsheet.

-
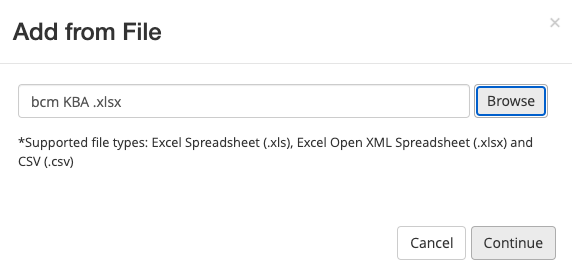
Select “browse” to upload the spreadsheet containing the CWIDs. Next, select “Continue”.
-
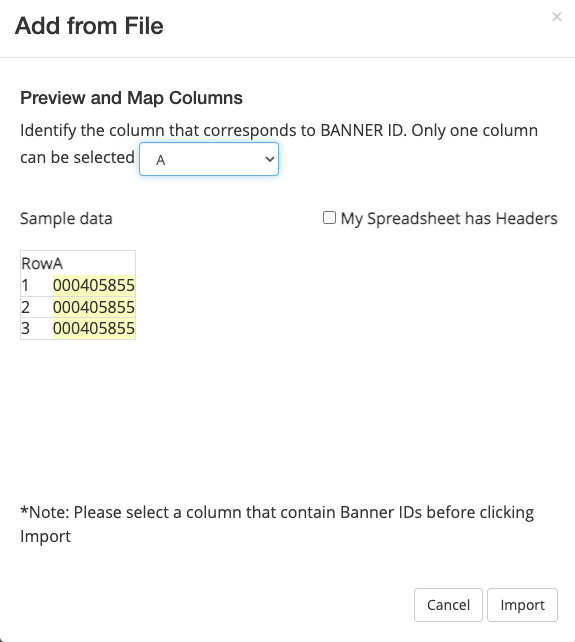
A window will popup, asking you to indicate which column the CWIDs are in. Make sure you also indicate if the column has headers. Next, click “Import”.
-
You will receive a popup letting you know how many entries were received and if there were any issues reading any of the CWIDs. Select, “Finish”

-
Next, you need to attach the population to the message you created. To do this select the “Create Message” at the top right side of the screen.

- Name the Communication
-
Select appropriate Organization (where message is coming from)
-
Search for the name of the template you created earlier.
-
Select your desired sending schedule
-
Click Send on the bottom.

For more help, please contact ITS at its@manhattan.edu or 718-862-7973.