About
This article shows you how to create a new requisition on ClearCompany.
Environment
Windows or Mac, on Chrome
Steps
Step 1
Click on your Tools menu and then Recruiting

Step 2
Click the Requisitions tab.
Then click Create Requisition in the upper right-hand corner of Requisitions. Select Simple Form from the dropdown menu.

Step 3
On the Create Requisition page, you’ll be entering all relevant information about the requisition.
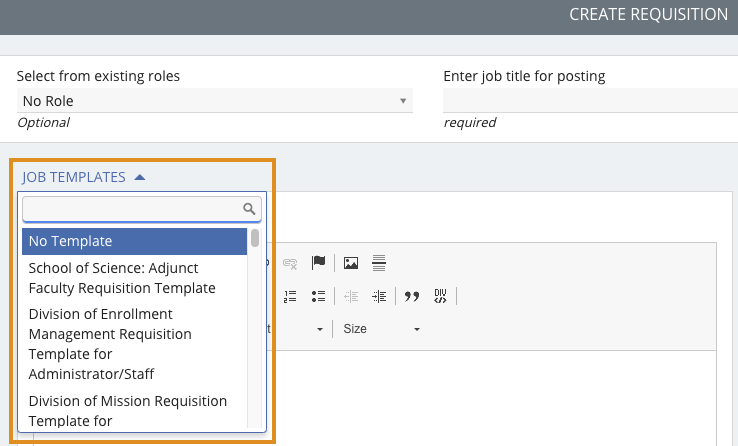
Click job templates, scroll through the list and select the requisition template that is for your department. This will auto-populate some fields, making it easier for you to complete the requisition. Each field marked as required will need to be filled before submitting the requisition as Open or saved as a Draft.
Step 4
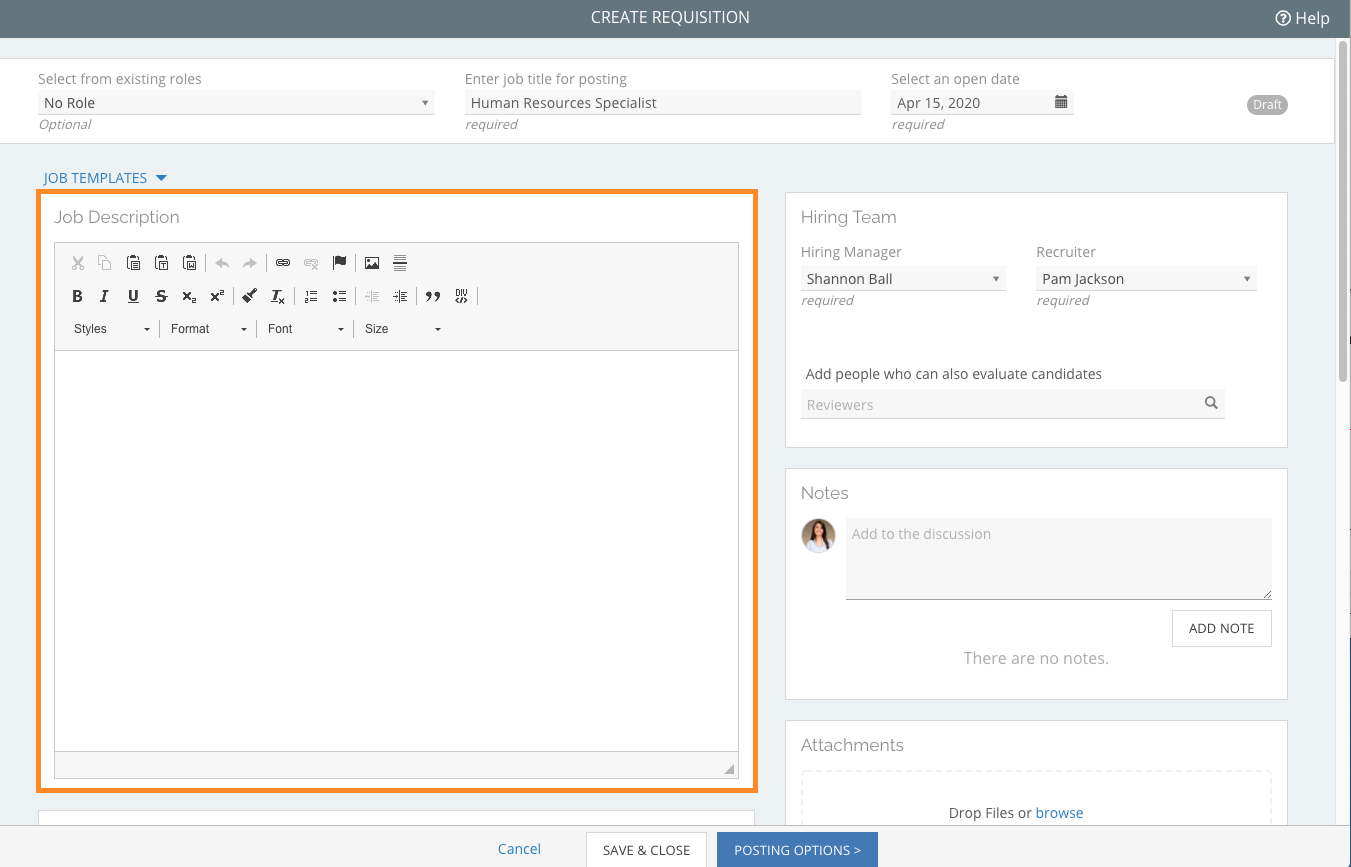
Add a job description. You can copy and paste an existing job description into this field, or type one out manually.
Step 5
Assign a Hiring Manager and Recruiter

(Optional) Add additional reviewers to the Hiring Team by using the Reviewers search bar. Just type in the name of the employee and select their name from the list. Note, the employee will need to have a ClearCompany user account in order to be added to the Hiring Team.
Step 6 (Optional)
Use the Notes & Attachments sections to include internal information regarding the requisition to your team. Tag specific users in the Notes section by using the @ symbol followed by their name.

Step 7
The fields included in the Administrative Info section are Internal Only fields, with the exception of the Office location. These fields can be used to keep track of useful information for internal auditing and approval.
-
Office: Here you’ll select the Office location that you’re hiring for. The City, State, and ZipCode assigned to the Office in ClearCompany will be sent to the respective job boards upon posting.
-
Hiring for a remote or statewide position? You can use the toggle next to the 'Work location is different from Office location' section to make further selections. Your requisition will post as "Statewide" or “Nationwide”, respectively, to any boards that allow for State and Nationwide posting. For boards that do not allow these posting types, the location of the requisition will default to the location of the Office for the requisition, as configured in ClearCompany.
-
Department: Select the department that you’re creating this requisition for.
-
Requisition Id: It can be useful to assign a unique requisition id if you frequently hire for multiple positions with the same job title.
-
Salary Range: This is an optional field and internal-facing only.
-
Number of Openings: Use the plus and minus buttons to specify how many positions you’ll be filing through this requisition.
-
Budget: This is an optional field and internal-facing only.
-
Replacing: This field allows you to search for the name of an existing employee that you’re creating this requisition to replace. Note, this employee will need to have an active ClearCompany account in order to appear within the list.
-
Desired Start Date: This is an optional field and internal-facing only.
-
EEO Type, Job Description, & Job Function: These fields include dropdowns of pre-set EEO information used for EEO reporting and tracking purposes. Note, these cannot be customized.
-
Close this requisition: Select the method you wish to use to close this requisition. This can be done manually when all openings are filled, or on a specified date.
Step 8
To set a requisition approval process, you can use the search bar within the Approvers section found on the right-hand side of the page. Type in the name of a specific user or role and select the user from the dropdown menu to add them to the Approval List. In this case, you will search and add Human Resources to approvers.

Step 9
If you have more than one application process, you'll be able to select the appropriate application from the dropdown menu under Select the online process candidates will use to apply. This list is ordered alphanumerically so the system will display a default application based on that order.

Step 10
If your organization utilizes custom requisition fields, those fields will be listed under the Administrative Info section.

Step 11
Once all the required fields have been completed on this page, click Send For Approval at the bottom of the page.